In the world of baking, the most important number isn’t the oven temperature or the timer setting—it’s the hydration ratio. Whether you are aiming for a tight-crumbed sandwich bread or a holey, rustic ciabatta, the amount of water you add to your flour determines the final architecture of your loaf.
From a food science perspective, hydration isn’t just about wetness; it’s about the chemical environment that allows gluten to form and yeast to thrive.
1. What is a Hydration Ratio?
Bakers use Baker’s Percentages to talk about hydration. This is a system where the weight of every ingredient is expressed as a percentage of the total flour weight.
The Formula:
For example, if you use 1000g of flour and 700g of water, you have a 70% hydration dough. This system allows you to scale recipes up or down without losing the balance of the ingredients.
2. The Science: What Water Does in Dough
Water is the “activator” in the bowl. Without it, flour is just dust. Once water is introduced, two critical processes begin:
Gluten Development
Flour contains two proteins: glutenin and gliadin. When water hits the flour, these proteins bond to form gluten.
- Low Hydration: Proteins are crowded; the dough is stiff and requires more physical kneading to organize the gluten.
- High Hydration: Proteins can move more freely. High-hydration doughs (like sourdough) often use “stretch and folds” rather than traditional kneading because the water helps the gluten strands align themselves over time.
Enzymatic Activity and Fermentation
Yeast and bacteria (in sourdough) need a liquid environment to move and consume sugars.
- Water allows enzymes like amylase to break down starches into simple sugars for the yeast to eat.
- Higher hydration generally speeds up fermentation because the molecular “traffic” moves faster in a wetter environment.
3. The Hydration Spectrum
Different styles of bread fall into specific hydration “zones,” each requiring different handling techniques.
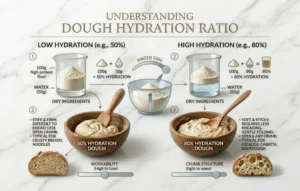
Low Hydration (50% – 60%)
- Examples: Bagels, pretzels, and some stiff sandwich breads.
- Characteristics: These doughs are dry, easy to handle, and hold their shape perfectly.
- Science Note: The low moisture content results in a tight, uniform crumb and a sturdy crust.
Medium Hydration (65% – 75%)
- Examples: Standard sourdough, baguettes, and pizza dough.
- Characteristics: This is the “sweet spot” for many bakers. The dough is tacky but manageable. It offers a balance between a soft interior and a crisp crust.
High Hydration (80%+)
- Examples: Ciabatta and focaccia.
- Characteristics: These doughs are more like thick batters. They are very sticky and difficult to shape by hand.
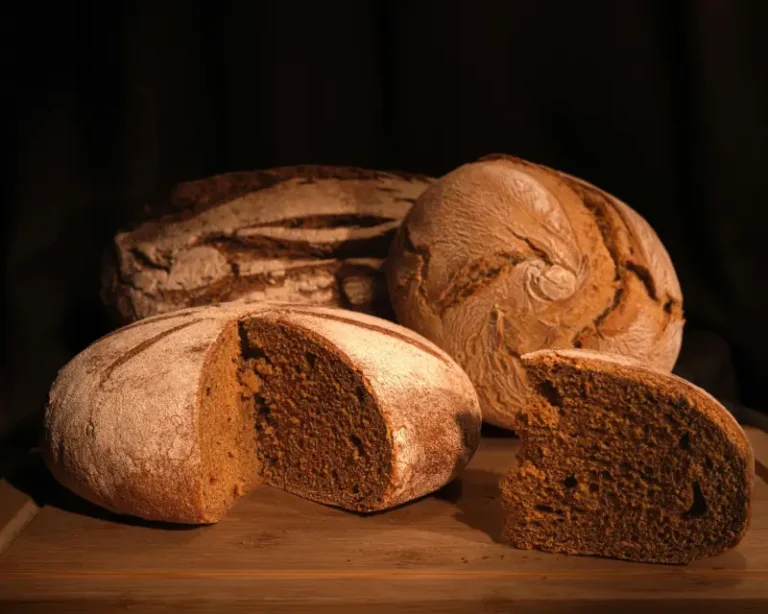
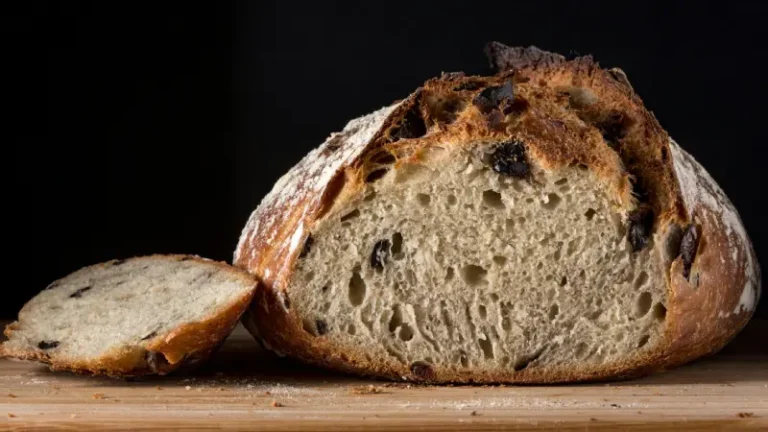
- Science Note: High water content leads to large, irregular air pockets (an “open crumb”) because the steam generated in the oven expands the loose gluten network aggressively.
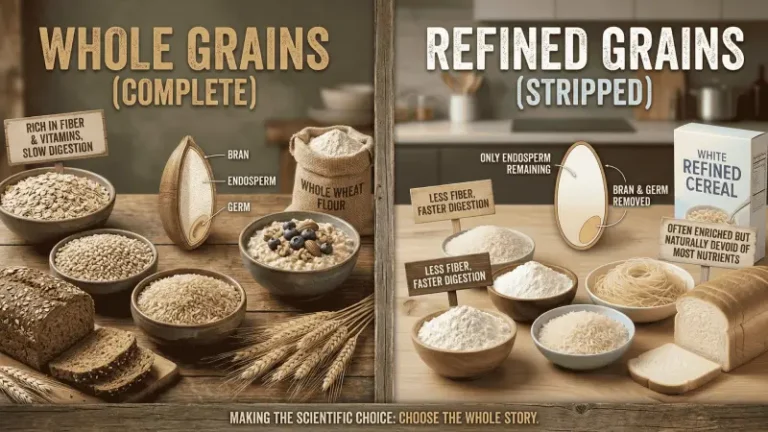
4. Why Flour Type Changes Everything
You cannot simply swap one flour for another and keep the same hydration ratio. This is where the science of Whole Grains vs Refined Grains becomes vital.
- Refined White Flour: Lacks the bran and germ. It absorbs water primarily through its starch and protein content.
- Whole Wheat Flour: The bran acts like a tiny sponge, soaking up significantly more water than the endosperm. If you switch a 70% hydration white bread recipe to 100% whole wheat, the dough will feel much drier and stiffer.
- High-Protein Bread Flour: More protein means more water is needed to fully hydrate those proteins into gluten.
Pro Tip: When switching to whole grains, increase your hydration by roughly 5–10% to achieve a similar dough feel. For more on this, see Flour Types Explained.
5. Factors That Affect Your Ratio
Science happens outside the bowl, too. Professional bakers adjust their hydration based on:
- Humidity: On a rainy day, flour absorbs moisture from the air, meaning you may need less added water.
- Temperature: Warmer water hydrates flour faster but can lead to over-proofing if not monitored.
- Inclusions: Adding fats like butter or oil (which are non-hydrating liquids) or honey (which is hygroscopic) will change how the dough feels and behaves.
6. Mastering the “Feel”
While the math is precise, the “feel” is the art. Every bag of flour is slightly different. The goal is to reach the correct level of extensibility (the ability to stretch) and elasticity (the ability to snap back).
How to Adjust:
- If the dough is too stiff: Add water 1 tablespoon at a time (this is often called “bassinage” in professional bakeries).
- If the dough is too slack: It’s harder to add flour later without clumping; it’s better to use “strength-building” folds during the first rise.
Hydration is the primary lever you can pull to change the texture, taste, and shelf-life of your bread. By mastering the ratio, you transition from a cook who follows instructions to a food scientist who understands the Bread Structure Explained.
Related article: How Carbohydrates Actually Build the Food We Love